How to Add NodeMcu (ESP8266) Board to Arduino IDE
The NodeMCU board is not initially available in the Arduino IDE by default. To program your NodeMCU or ESP8266 board using the Arduino IDE, follow the steps below:
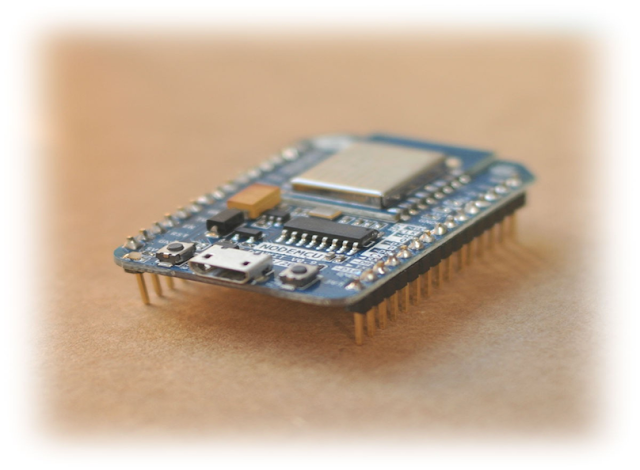
The NodeMCU ESP8266 is a low-cost WiFi module
built by Espressif Systems.
Requirements
- Arduino IDE in your PC
- Internet connection
- NodeMCU (ESP8266 ) Board
Step 1: Adding ESP8266 URL to Arduino IDE
Open your Arduino IDE. To Add additional URL for board manager.
Go to File >> Preferences
Paste below url in Additional Board Manager URLs
as Shown below fig.
http://arduino.esp8266.com/stable/package_esp8266com_index.json
Now Click OK.
Step 2: Open Board Manager
Go to Tools >> Board:
>> Board Manager
Search and Install NodeMCU(ESP8266)
in Arduino IDE as shown in below fig.
Search for ESP8266 in search
box.
Select esp8266 by ESP8266 Community.
(If internet is not available then
you will not find ESP8266)
Click on Install Button.
Download progress starts.
If your facing any errors while installation on progress try
again after few hours.
If your installation is finished Refresh or Restart your PC.
Step 3: Verify installation of ESP8266
Go to Tools>>Boards>> select NodeMCU
Board
Connect your USB cable to PC and Select
Com port.
For Additional Projects Click Below Links:

Subscribe to:
Post Comments
(
Atom
)
Internet of Things
What is Internet of Things?
What is IoT? The Internet of Things (IoT) is the network of physical objects/things are embedded with software, sensors, and hardw...


No comments :
Post a Comment