How to create Cloud - ThingSpeak account and Channels
ThingSpeak Cloud Platform
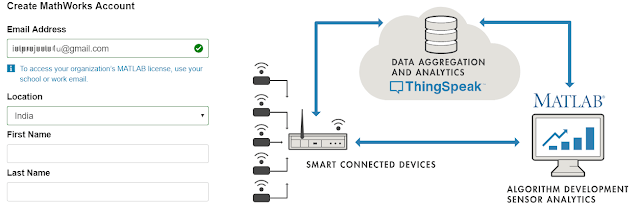
To utilize ThingSpeak for cloud computing, you have two options: either create a new MathWorks account or log in using an existing MathWorks account.
1.Sign up for ThingSpeak
Fill the Details and Click On Continue Button as show in
below fig..
You will get mail from service@mathworks.com. Open your
Email and click on verify your Email.
Click OK to login to ThingSpeak account.
2. Click Channels >> MyChannels
3. On the Channels page, click New Channel
4. Check the boxes next to Fields 1 & 2. Enter these channel setting values:
5.Click "Save Channel" at the bottom of the settings.
You now see these tabs:
Private View: This tab displays information about your channel that only you
can see.
Channel Settings: This tab shows all the channel options you set at creation.
You can edit, clear, or delete the channel from this tab.
Data Import/Export: This tab enables you to import and export channel data.
6. API Keys Settings
Write API Key: Use this key to write
data to a channel. If you feel your key has been compromised, click Generate
New Write API Key.
Read API Keys: Use this key to allow
other people to view your private channel feeds and charts. Click Generate
New Read API Key to generate an additional read key for the channel.
Note: Use this field to enter information about channel read keys. For example, add notes to keep track of users with access to your channel.
API Requests
Write API Requests is to upload sensor data to Channel.
Read API Requests is to Retrieve sensor data from Channel.
 Output
After uploading data
from the sensor using hardware modules like NodeMcu(ESP8266) Wi-Fi are
raspberry pi output will be like this.Additional Projects:
How to Add NodeMcu (ESP8266) Board to Arduino IDE
Internet of Things Projects
Arduino Projects

Subscribe to:
Post Comments
(
Atom
)
Internet of Things
What is Internet of Things?
What is IoT? The Internet of Things (IoT) is the network of physical objects/things are embedded with software, sensors, and hardw...


No comments :
Post a Comment