Light Intensity Measurement using Arduino and LDR
Light Intensity Measurement using Arduino and LDR
Arduino and Light Dependent Resistor (LDR). The LDR sensor is employed to measure light intensity.
This tutorial illustrates the procedure of connecting/interface a Light Dependent Resistor (LDR) Sensor to an Arduino. It guides you through the process of establishing an interface between an Arduino and an LDR sensor, resulting in the blinking of a Built-In LED based on the detected light intensity.
Components Required:
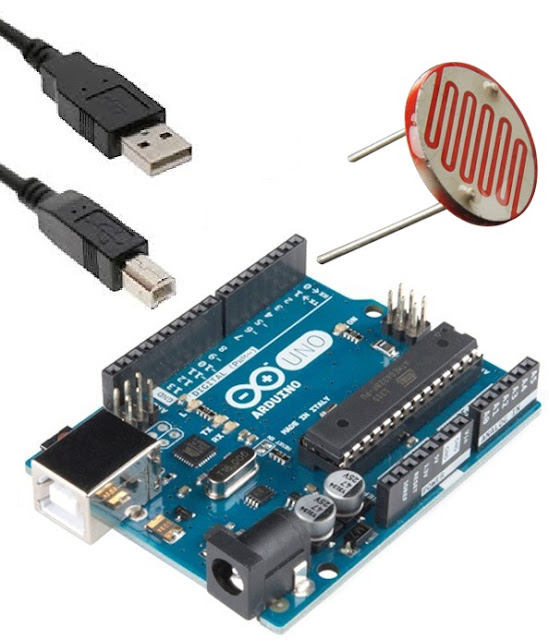
- Arduino Uno with USB 2.0 Cable
- LDR (Light dependent resistor)
- Jumper Wires
Arduino Uno with USB 2.0 Cable:
Arduino is an open-source electronics platform that combines user-friendly hardware and software, catering to individuals involved in creating interactive projects.
LDR Sensor:
The term "LDR" stands for Light Dependent Resistor, which is a sensor capable of detecting light intensity. It incorporates a variable resistance that changes in response to the varying light intensity fall upon it. As the light intensity fluctuates, the resistance undergoes corresponding variations.
Specifications:
- Power Supply :3.3V to 5V DC
- Operating Current : 15mA
- Output: Analog and Digital
Jumper Wires:
A jumper wire is an electrical wire equipped with connectors or pins at each end. It is commonly employed to interconnect components without the need for soldering, providing a convenient method for establishing electrical connections between different parts of a circuit.
Connection Diagram:
Connect your components according to the provided diagram and link the USB cable from Arduino to your computer.
Arduino Code:
int sensorPin = A0; // select the input pin for the
LDR
int ledPin = 13; // select the pin for the LED
int sensorValue = 0; // variable to store the value
coming from the sensor
void setup()
{
// declare the ledPin as an OUTPUT:
pinMode(ledPin, OUTPUT);
}
void loop() {
// read the value from the sensor:
sensorValue = analogRead(sensorPin);
Serial.print(sensorValue); //Prints the Value from
Sensor
if (sensorValue<400)
{
// turn the ledPin on
digitalWrite(ledPin, HIGH);
Serial.print("Turn on LED & LED Status :
");
Serial.println(sensorValue);
}
else{
// turn the ledPin off:
digitalWrite(ledPin, LOW);
Serial.print("Turn off LED & LED Status :
");
Serial.println(sensorValue);
}
delay(1000); // stop the program for <1000>
milliseconds:
}
Upload:
Connect Arduino
board to computer using USB cable and wait for few seconds then
it will show you "Com port".
Check your Com Port
and Board Selection before upload Arduino code.

Subscribe to:
Post Comments
(
Atom
)
Internet of Things
What is Internet of Things?
What is IoT? The Internet of Things (IoT) is the network of physical objects/things are embedded with software, sensors, and hardw...


No comments :
Post a Comment